
is now in public beta!
Published on: March 9, 2020
9 min read
How to create a Kubernetes cluster on Amazon EKS in GitLab
A Kubernetes tutorial: Create clusters in a few clicks with GitLab and Amazon EKS.

Kubernetes has created a whole new world for running infrastructure at scale. With the right setup, an application can go from serving a few users to millions effortlessly. Setting up Kubernetes can be tasking and can require a lot of expertise to put all the pieces together. You’ll need to set up virtual or bare metal machines to use as nodes and manage SSL certificates, networking, load balancers, and many other moving parts.
The introduction of Amazon Elastic Kubernetes Service (EKS) was widely applauded as it streamlines the abstraction of the complexities in an environment most organizations are already familiar with and on a provider they already trust. Amazon EKS makes creating and managing Kubernetes clusters easier with more granular controls around security and straightforward policies of how resources are used.
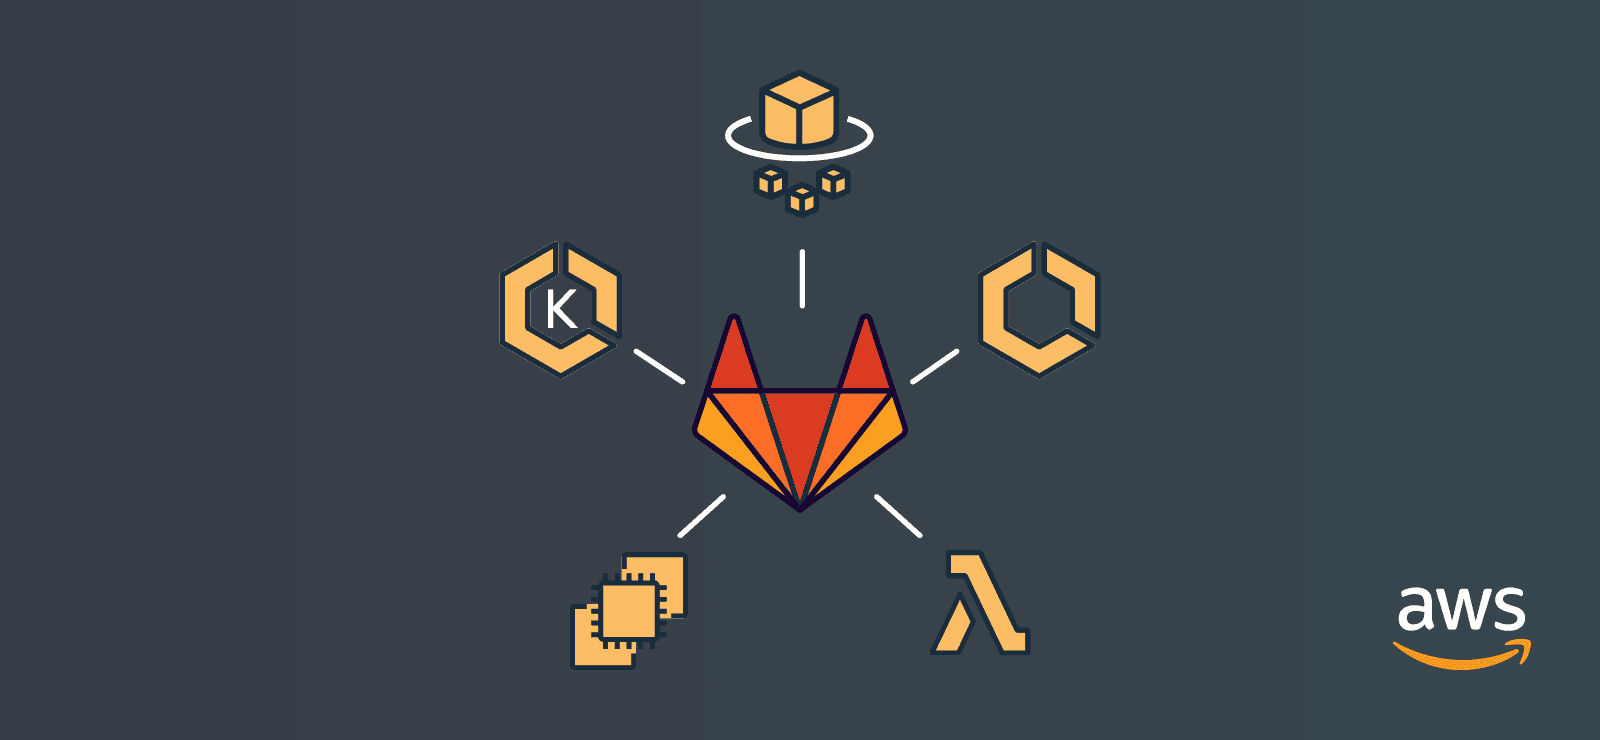
GitLab strives to increase developer productivity by automating repetitive tasks and allowing developers to focus on business logic. We recently introduced support for auto-creating Kubernetes clusters on Amazon EKS. In a few clicks with the right permissions, you’ll have a fully functional Kubernetes cluster on Amazon EKS. It doesn’t stop there however – GitLab also gives you the power to achieve the following use cases and more :
- Highly scalable CI/CD system using GitLab Runner: There are times like holidays when little to no changes to code are pushed to production, so why keep resources tied down? With the Amazon EKS integration with GitLab, you can install GitLab Runner with just a click and your CI/CD will run effortlessly without worrying about running out of resources.
- Shared Cluster: Maintaining multiple Kubernetes clusters can be a pain and capital intensive. With Amazon EKS, GitLab allows you to setup a cluster at Instance, Group and Project levels. Kubernetes Namespaces are created for each GitLab project when the Amazon EKS is integrated at Instance and Project level, allowing isolation and ensuring security.
- Review Apps: Reviewing changes to code or design can be tricky, you’ll need to check out your branch and run the code in a test environment. GitLab integrated with Amazon EKS deploys your app with new changes to a dynamic environment and all you need to do is click on a “View App“ button to review changes.
- AutoDevOps takes DevOps to a whole new level. AutoDevOps detects, builds, tests, deploys, and monitors your applications, leveraging the Amazon EKS integration. All you have to do is push your code and the magic happens. In this tutorial, we will deploy a sample application to the Amazon EKS cluster we will be creating using AutoDevOps.
To show you how easy it is to create an Amazon EKS cluster from GitLab, the rest of this tutorial will walk you through the steps of the integration, starting with a one-time setup of necessary resources on AWS.
One-time setup on AWS to access resources
First, we need to create a “provision" role and a “service” role on AWS to grant GitLab access to your AWS resources and set up the necessary permissions to create and manage EKS clusters. You only need to perform these steps once and you can reuse them anytime you want to perform another integration or create more clusters.
Step 1 - Create Provision Role
To grant GitLab access to your AWS resources, a “provision role” is required. Let’s create one:
- Access GitLab Kubernetes Integration Page by clicking on the ”Kubernetes” menu for groups and Operations > Kubernetes menu for projects and click the “Add Kubernetes Cluster” button.
- Select “Amazon EKS” in the options provided under the “Create new cluster on EKS” tab.
- You are provided with an Account and External ID to use for authentication. Make note of these values to be used in a later step.

- Open IAM Management Console in another tab and click on “Create Role”
- Click on the “Another AWS account” tab and provide the Account and External ID obtained from GitLab and click Next to set permissions as shown below:

- On the permissions page, click on “Create policy.” This will open a new tab where you can set either of the permissions below using JSON:
{
"Version": "2012-10-17",
"Statement": [
{
"Effect": "Allow",
"Action": [
"autoscaling:*",
"cloudformation:*",
"ec2:*",
"eks:*",
"iam:*",
"ssm:*"
],
"Resource": "*"
}
]
}
```
This gives GitLab full access to create and manage resources, as seen in the image below:

If you prefer limited permission, you can give GitLab the ability to create resources, but not delete them with the JSON snippet below. The drawback here is if an error is encountered during the creation process, changes will not be rolled back and you must remove resources manually. You can do this by deleting the relevant CloudFormation stack.
```json
{
"Version": "2012-10-17",
"Statement": [
{
"Effect": "Allow",
"Action": [
"autoscaling:CreateAutoScalingGroup",
"autoscaling:DescribeAutoScalingGroups",
"autoscaling:DescribeScalingActivities",
"autoscaling:UpdateAutoScalingGroup",
"autoscaling:CreateLaunchConfiguration",
"autoscaling:DescribeLaunchConfigurations",
"cloudformation:CreateStack",
"cloudformation:DescribeStacks",
"ec2:AuthorizeSecurityGroupEgress",
"ec2:AuthorizeSecurityGroupIngress",
"ec2:RevokeSecurityGroupEgress",
"ec2:RevokeSecurityGroupIngress",
"ec2:CreateSecurityGroup",
"ec2:createTags",
"ec2:DescribeImages",
"ec2:DescribeKeyPairs",
"ec2:DescribeRegions",
"ec2:DescribeSecurityGroups",
"ec2:DescribeSubnets",
"ec2:DescribeVpcs",
"eks:CreateCluster",
"eks:DescribeCluster",
"iam:AddRoleToInstanceProfile",
"iam:AttachRolePolicy",
"iam:CreateRole",
"iam:CreateInstanceProfile",
"iam:CreateServiceLinkedRole",
"iam:GetRole",
"iam:ListRoles",
"iam:PassRole",
"ssm:GetParameters"
],
"Resource": "*"
}
]
}
```
The image below visualizes what permissions are granted:

7. Once the policy is created, return to the “Create Role” browser tab and refresh to see the policy we created listed. Select the policy and click “Next.”
8. In the Tags section, we don’t need to set any Tags, except if it’s required in your organization. Let’s proceed to Review.
9. Specify a Name for your new Role. You will see the policy we created listed under policies and click “Create Role” to complete the process.
10. Click on the new Role you created in the list of Roles to view its details. You may have to search for it in the list of Roles if it’s not listed in the first view. Copy the Role ARN provided – we will need it on the GitLab Kubernetes Integration page.
### Step 2 - Create Service Role
The Service Role is required to allow Amazon EKS and the Kubernetes control plane to manage AWS resources on your behalf.
- In the IAM Management Console, click on “Create Role” and select the “AWS service” tab.
- Select EKS in the list of services and Use Cases as shown below and click Next.

- You will notice the “AmazonEKSClusterPolicy” and “AmazonEKSServicePolicy” permissions are selected; these are all we need. Click through the Tags step and create if necessary, then click Next to get to the Review step. Click “Create Role” to complete the process.

GitLab EKS Integration
This is the easy part! As mentioned earlier, you only need to create the Provision and Service role once if you don’t already have them in your organization’s AWS setup. You can reuse the roles for other integrations or cluster creations.
- Return to the GitLab Kubernetes Integration page and provide the Role ARN of the Provision Role we created earlier and click “Authenticate with AWS.”

- Once authenticated, you’ll have a page to set the parameters needed to set up your cluster as shown in the image below and click on “Create Kubernetes Cluster” to let GitLab do its magic!
The parameters you’ll need to provide are:
* **Kubernetes cluster name** - The name you wish to give the cluster.
* **Environment scope** - The [GitLab environment](https://docs.gitlab.com/ee/user/project/clusters/index.html#setting-the-environment-scope) associated with this cluster; `*` denotes the cluster will be used for deployments to all environments.
* **Kubernetes version** - The Kubernetes version to use. Currently, the only version supported is 1.14.
* **Role name** - The service role we created earlier.
* **Region** - The [AWS region](https://docs.aws.amazon.com/AWSEC2/latest/UserGuide/using-regions-availability-zones.html) in which the cluster will be created.
* **Key pair name** - Select the [key pair](https://docs.aws.amazon.com/AWSEC2/latest/UserGuide/ec2-key-pairs.html) that you can use to connect to your worker nodes if required.
* **VPC** - Select a [VPC](https://docs.aws.amazon.com/vpc/latest/userguide/what-is-amazon-vpc.html) to use for your EKS Cluster resources.
* **Subnets** - Choose the [subnets](https://docs.aws.amazon.com/vpc/latest/userguide/VPC_Subnets.html) in your VPC where your worker nodes will run.
* **Security group** - Choose the [security group](https://docs.aws.amazon.com/vpc/latest/userguide/VPC_SecurityGroups.html) to apply to the EKS-managed Elastic Network Interfaces that are created in your worker node subnets. AWS provides a default group, which can be used for the purpose of this guide. However, you are advised to setup up the right rules required for your resources.
* **Instance type** - The AWS [instance type](https://aws.amazon.com/ec2/instance-types/) of your worker nodes.
* **Node count** - The number of worker nodes.
* **GitLab-managed cluster** - Leave this checked if you want [GitLab to manage namespaces and service accounts](https://docs.gitlab.com/ee/user/project/clusters/index.html#gitlab-managed-clusters) for this cluster.

3. The cluster creation process will take approximately 10 minutes. Once done you can proceed to install some predefined applications. At the very least, you need to install the following: - Helm Tiller: This is required to install the other applications. - Ingress: This provides SSL termination, load balancing and name-based virtual hosting you your applications. It acts as a web proxy for your application, which is useful when using AutoDevOps or deploying your own apps. - Cert Manager: This is a native Kubernetes certificate management controller, which helps in issuing certificates using Let’s Encrypt. You don’t need this if you want to use a custom Certificate issuer. - Prometheus: GitLab uses the Prometheus integration for automatic monitoring of your applications to collect metrics from Kubernetes containers allowing you to understand what is going on from within the GitLab UI.

4. To make use of Auto Review Apps and Auto Deploy stages of AutoDevOps, you will need to specify a Base Domain name with a wild card DNS pointing to the Ingress Endpoint generated when you Install Ingress in the list of predefined apps.
Summary
In this tutorial, we looked at how GitLab integrates with Amazon EKS, allowing Kubernetes clusters to be created easily from the GitLab UI after setting the right permissions. As we’ve seen, developer productivity is greatly improved by no longer having to manually set up clusters. Also, the same cluster can be used for multiple projects when Amazon EKS is integrated with GitLab at the Group and Instance levels, thus making onboarding new projects a breeze. After integration, the possibilities of what developers can achieve is enormous.
In the next part of this tutorial, we will look at how to deploy your applications on an Amazon EKS cluster using AutoDevOps.
We want to hear from you
Enjoyed reading this blog post or have questions or feedback? Share your thoughts by creating a new topic in the GitLab community forum.
Share your feedback